

Spring Boot学习7——JPA
发布于2021-05-29 21:07 阅读(703) 评论(0) 点赞(26) 收藏(3)
JPA
- JPA(Java Persistence API)Java持久化 API,是一套基于ORM思想的规范。
- 优势
1、标准化
2、对容器级特性的支持
3、简单易用,集成方便
4、可媲美JDBC的查询能力
5、支持面向对象的高级特性
使用Spring Boot整合JPA
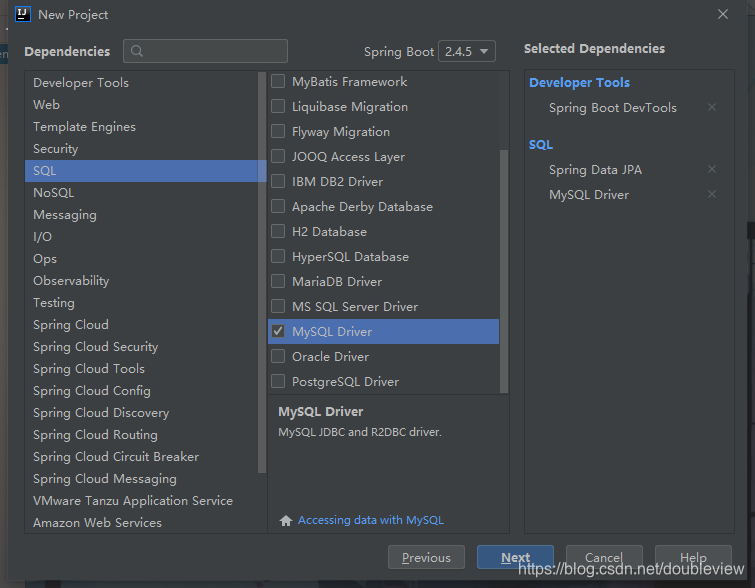
一、创建项目JPADemo

二、创建对象关系映射(orm)实体类
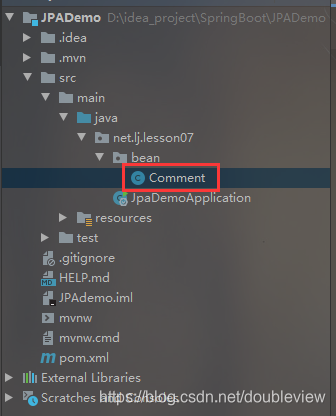
创建评论实体类Comment
- 创建bean子包
package net.lj.lesson07.bean;

import javax.persistence.*;

/**
 * 评论实体类
 */
@Entity(name = "t_comment")//实体类注释,对应数据表
public class Comment {
    @Id//主键
    @GeneratedValue(strategy = GenerationType.IDENTITY)//填充值策略
    @Column(name = "id")//字段绑定
    private Integer id;
    @Column(name = "content")
    private String content;
    @Column(name = "author")
    private String author;
    @Column(name = "a_id")
    private Integer aId;

    public Integer getId() {
        return id;
    }

    public void setId(Integer id) {
        this.id = id;
    }

    public String getContent() {
        return content;
    }

    public void setContent(String content) {
        this.content = content;
    }

    public String getAuthor() {
        return author;
    }

    public void setAuthor(String author) {
        this.author = author;
    }

    public Integer getaId() {
        return aId;
    }

    public void setaId(Integer aId) {
        this.aId = aId;
    }

    @Override
    public String toString() {
        return "Comment{" +
                "id=" + id +
                ", content='" + content + '\'' +
                ", author='" + author + '\'' +
                ", aId=" + aId +
                '}';
    }
}
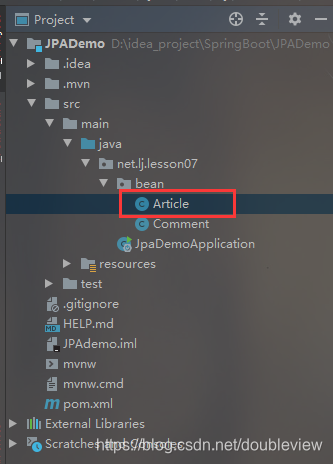
创建文章实体类Article
package net.lj.lesson07.bean;

import javax.persistence.*;
import java.util.List;

/**
 * 文章实体类
 */
@Entity(name = "t_article") //实体注解
public class Article {
    @Id//主键
    @GeneratedValue(strategy = GenerationType.IDENTITY)//填充值策略
    @Column(name = "id") //绑定字段
    private Integer id;
    @Column(name = "title")
    private String title;
    @Column(name = "content")
    private String content;
    //查询时一并查询子表
    @OneToMany(fetch = FetchType.EAGER)//一对多
    @JoinTable(name = "t_comment",joinColumns = {@JoinColumn(name = "a_id")},
            inverseJoinColumns = {@JoinColumn(name = "id")})//关联表、关联字段、主键
    private List<Comment> commentList;

    public Integer getId() {
        return id;
    }

    public void setId(Integer id) {
        this.id = id;
    }

    public String getTitle() {
        return title;
    }

    public void setTitle(String title) {
        this.title = title;
    }

    public String getContent() {
        return content;
    }

    public void setContent(String content) {
        this.content = content;
    }

    public List<Comment> getCommentList() {
        return commentList;
    }

    public void setCommentList(List<Comment> commentList) {
        this.commentList = commentList;
    }

    @Override
    public String toString() {
        return "Article{" +
                "id=" + id +
                ", title='" + title + '\'' +
                ", content='" + content + '\'' +
                ", commentList=" + commentList +
                '}';
    }
}
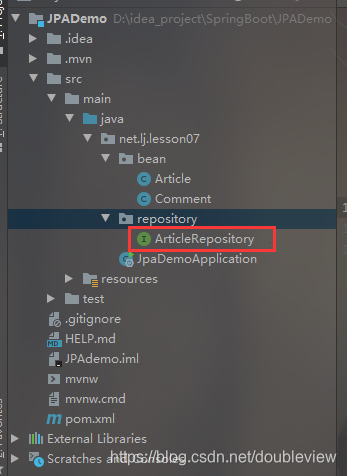
三、创建自定义JpaRepository接口ArticleRepository
- 创建repository子包
package net.lj.lesson07.repository;


import net.lj.lesson07.bean.Article;
import org.springframework.data.jpa.repository.JpaRepository;

/**
 * 文章仓库接口
 */
public interface ArticleRepository extends JpaRepository<Article,Integer> {
}
四、添加数据源依赖,配置数据源属性
在pom里添加依赖
<dependency>
    <groupId>com.alibaba</groupId>
    <artifactId>druid-spring-boot-starter</artifactId>
    <version>1.2.6</version>
</dependency>
在全局配置文件里配置数据源
spring.datasource.url=jdbc:mysql://localhost:3306/blog?serverTimezone=UTC&useSSL=false
spring.datasource.username=root
spring.datasource.password=123456

spring.datasource.druid.max-active=100
spring.datasource.druid.min-idle=10
spring.datasource.druid.initial-size=20
五、编写测试方法
package net.lj.lesson07;
import net.lj.lesson07.bean.Article;
import net.lj.lesson07.repository.ArticleRepository;
import org.junit.jupiter.api.Test;
import org.springframework.beans.factory.annotation.Autowired;
import org.springframework.boot.test.context.SpringBootTest;
import java.util.List;
@SpringBootTest
class JpaDemoApplicationTests {
@Autowired //注入文章仓库
private ArticleRepository articleRepository;
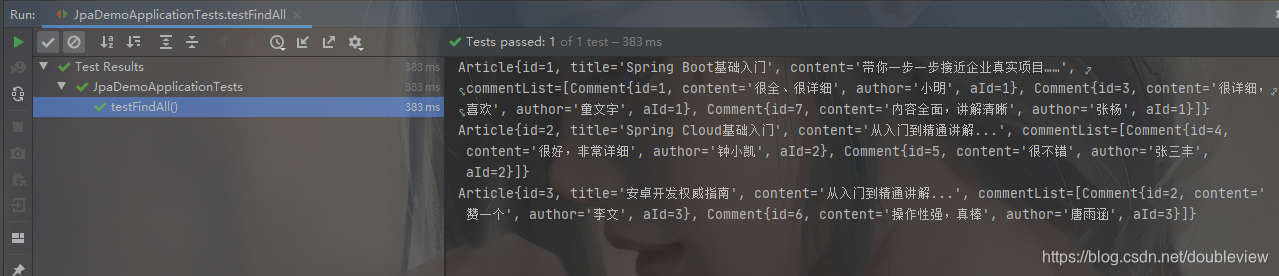
@Test//查询所有文章
public void testFindAll(){
//查询所有文章记录
List<Article> articles = articleRepository.findAll();
articles.forEach(article -> System.out.println(article));
}
}
启动测试
JPA实现个性化操作
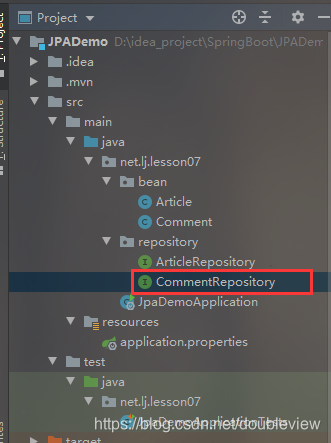
创建评论仓库接口CommentRepository
package net.lj.lesson07.repository;

import net.lj.lesson07.bean.Comment;
import org.springframework.data.domain.Page;
import org.springframework.data.domain.Pageable;
import org.springframework.data.jpa.repository.JpaRepository;
import org.springframework.data.jpa.repository.Query;
/**
 * 评论仓库接口
 */
public interface CommentRepository extends JpaRepository<Comment, Integer> {
    /**
     * 根据文章ID进行分页查询评论
     * nativeQuery = true 表示使用原生SQL语句,否则使用HQL语句
     * @param aId 查询条件字母(文章编号)
     * @param pageable 可分页对象,分页查询需要该参数
     * @return 返回page独享,包含page的相关信息及查询结果集
     */
    @Query(value = "select * from t_comment where a_id=?1",nativeQuery = true)
    Page<Comment> findCommentPagedByArticleId01(Integer aId, Pageable pageable);

    /**
     根据文章ID进行分页查询评论
     * 没有设置nativeQuery,使用HQL语句
     * @param aId
     * @param pageable
     * @return
     */
    @Query(value = "select c from t_comment c where c.aId=?1")
    Page<Comment> findCommentPagedByArticleId02(Integer aId, Pageable pageable);
}
创建测试类CommentTests

package net.lj.lesson07;
import net.lj.lesson07.bean.Comment;
import net.lj.lesson07.repository.CommentRepository;
import org.junit.jupiter.api.Test;
import org.springframework.beans.factory.annotation.Autowired;
import org.springframework.boot.test.context.SpringBootTest;
import org.springframework.data.domain.Page;
import org.springframework.data.domain.PageRequest;
import org.springframework.data.domain.Pageable;
import org.springframework.data.domain.Sort;
import java.util.List;
@SpringBootTest
public class CommentTests {
@Autowired
private CommentRepository commentRepository;
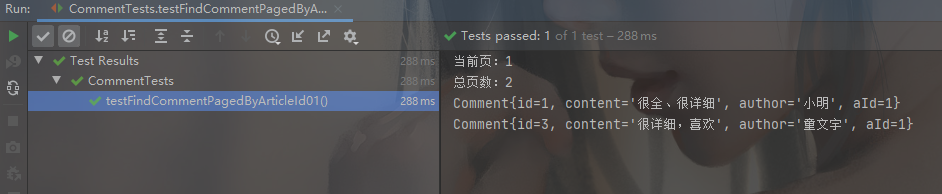
@Test //采用原生SQL语句测试按文章编号分类查询评论
public void testFindCommentPagedByArticleId01() {
// 当前页面索引
int pageIndex = 1;
// 设置页面大小
int pageSize = 2;//没页最多两条记录
//设置排序方式为降序
Sort.Direction sort = Sort.Direction.DESC;
// 创建分页器(页面索引、页面大小、排序方式、排序字段)
Pageable pageable = PageRequest.of(pageIndex, pageSize,sort,"id");
// 查询文章编号为1的页面对象
Page<Comment> page = commentRepository.findCommentPagedByArticleId01(1, pageable);
// 获取页面对象里的评论列表
List<Comment> comments = page.getContent();
// 获取页索引
int number = page.getNumber();
// 获取总页数
int totalPages = page.getTotalPages();
System.out.println("当前页:" + (number + 1)); // 页索引加1才是页码
System.out.println("总页数:" + totalPages);
// 输出当前页全部评论
for (Comment comment : comments) {
System.out.println(comment);
}
}
}
启动测试

原文链接:https://blog.csdn.net/doubleview/article/details/116707907
所属网站分类: 技术文章 > 博客
作者:天花灯
链接:http://www.javaheidong.com/blog/article/207416/acc990ba74867af8f36f/
来源:java黑洞网
任何形式的转载都请注明出处,如有侵权 一经发现 必将追究其法律责任
昵称:
评论内容:(最多支持255个字符)
---无人问津也好,技不如人也罢,你都要试着安静下来,去做自己该做的事,而不是让内心的烦躁、焦虑,坏掉你本来就不多的热情和定力